Getting started
Sign your first test waiver
Send a waiver to yourself so you can see exactly what your client sees before a real session.
A test waiver is the fastest way to understand Wavrr, and the only sensible way to check your consent text before a client reads it.
Send one to yourself
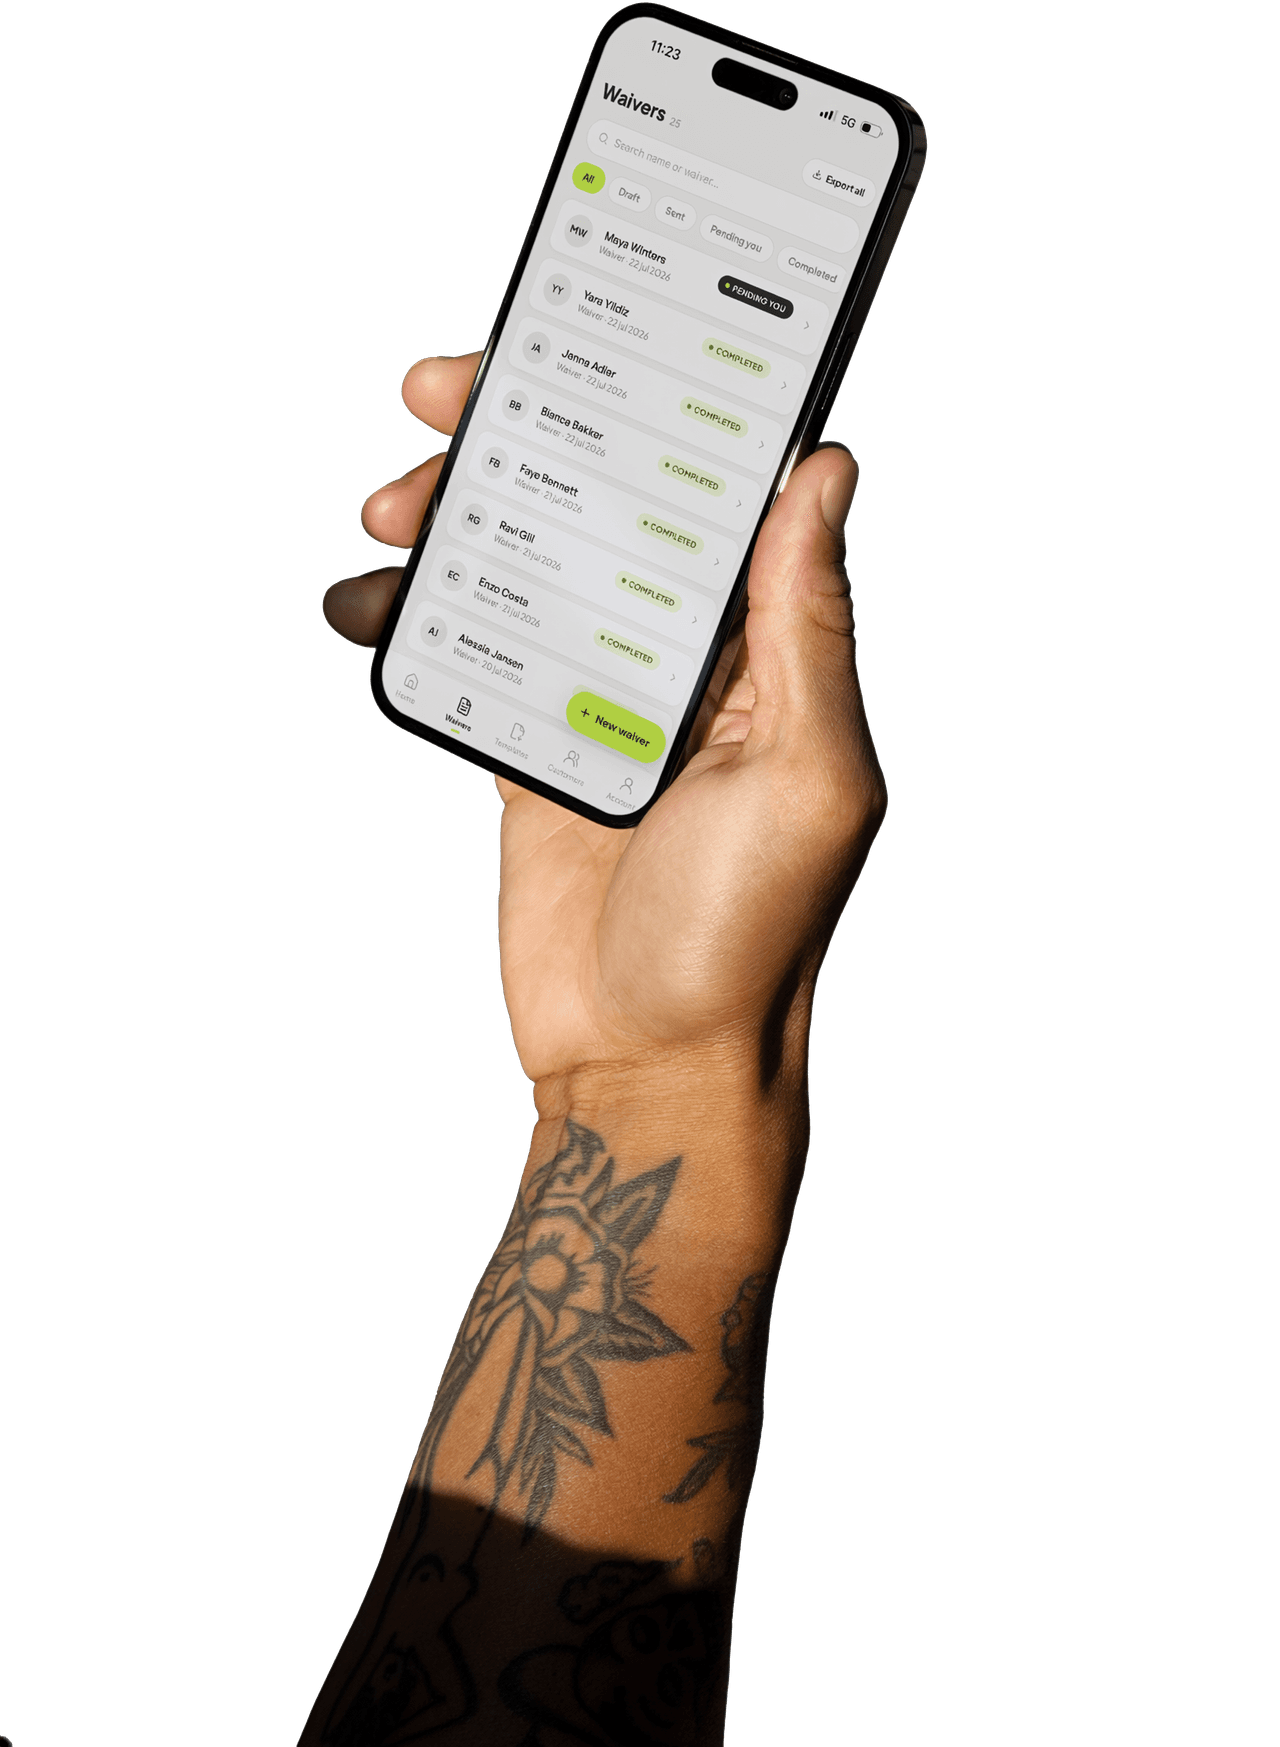
- Open Waivers in the sidebar and tap New Waiver.
- On the Customer Details step, put in your own name and your own email address.
- Continue to the Waiver step and read the consent text as your client will see it.
- Sign in the signature box, then tap Sign & Complete.
You now have a completed waiver with a PDF, and the confirmation email lands in your inbox.
What to check while you are in there
- Read every question out loud. Anything that reads awkwardly on a phone will read worse to a nervous client.
- Check your studio name and contact details appear the way you want them on the PDF.
- Check the health questions actually cover what you need to ask for the work you do.
- Check the consent text. This is the part that matters legally, and the default text is a starting point, not advice.
Try it the way a client will
Sending it to yourself in the dashboard shows you the artist's view. To see the client's view, use the share link instead: open QR Code, copy the link for your template, and open it on your phone. That is the real client experience — no login, no app.
Related
Still stuck?
If this did not answer your question, get in touch and a human will reply.
Contact supportLast updated