Ink passport
Create an ink passport for a session
Record which inks you used on a specific appointment and send the PDF to your client.
An ink passport belongs to a session, so you create it from the appointment — usually right after you finish the work, while the bottles are still on your station.
Create it
- Open the appointment, from Waivers or from the client's record under Customers.
- Choose Create Ink Passport.
- Pick a Saved ink from the dropdown and tap Add. Repeat for every ink you used.
- Fill in the Appointment Date, the Price, and any Notes — needle configuration is worth recording here.
- Tap Create Ink Passport.
The inks you have added appear under Inks on this passport, and you can remove one if you pick the wrong bottle. You need at least one ink before Wavrr will let you save.
Add an ink you have not saved
If a bottle is not in your library, use the + button next to the ink selector. Fill in brand, colours, supplier and batch number, leave Save to ink registration for future use ticked, and it is added to both this passport and your library. See Save inks in Ink Registration.
What happens when you save
Wavrr generates the PDFs and emails them to both the client and the artist. The client having their own copy is the point — it means they can hand it to a doctor without contacting you first.
Several inks, one passport
One passport covers one session, however many inks it involved. Add them all to the same passport rather than creating one per bottle — the session is the thing a doctor or an inspector asks about.
Finding them later
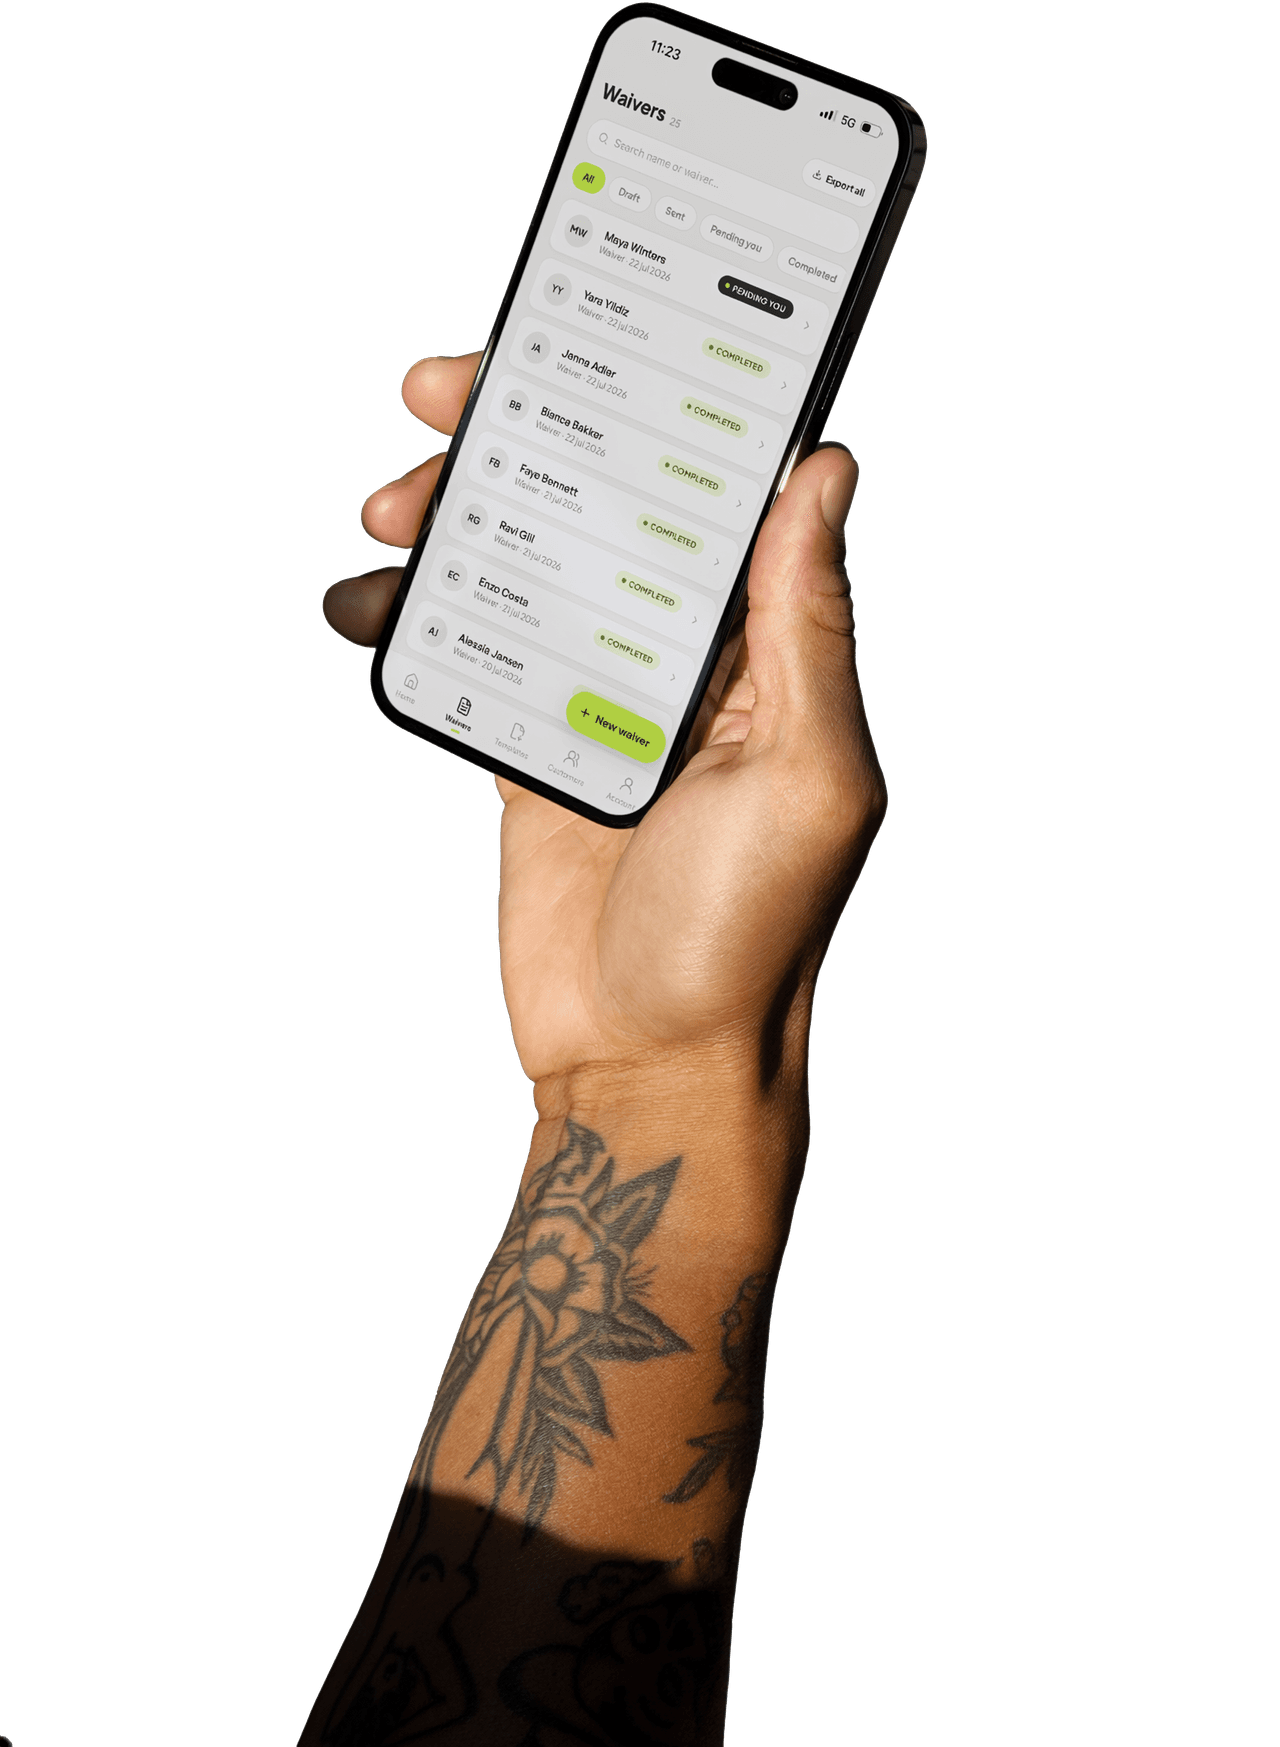
Ink passports sit on the client's record next to their waivers, and you can export all of them in one go from Waivers → Export All → Export Ink Passports. See Export records for an inspection or audit.
Related
Still stuck?
If this did not answer your question, get in touch and a human will reply.
Contact supportLast updated